Enable SMS with TeamMate Connector

Written by Marissa Orsini
Updated at April 4th, 2024
Table of Contents
Scope
Intended Audience: Netsapiens Providers
This article outlines how to configure and enable SMS with TeamMate Connector. Please note SMS cannot be enabled with both the Manager Portal and TeamMate Connector at this time. It must be configured with one or the other.
Requirements
Import SMS Phone Numbers
- Log in to TeamMate Reseller Portal
- Navigate to Phone Numbers
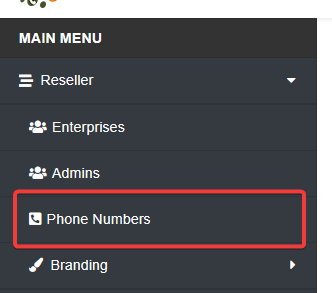
- Click Upload Phone Numbers
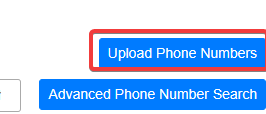
- Select Sample File Format to download the DID template

- Open the CSV file and update the Phone Number column to include the 10 digit number to add

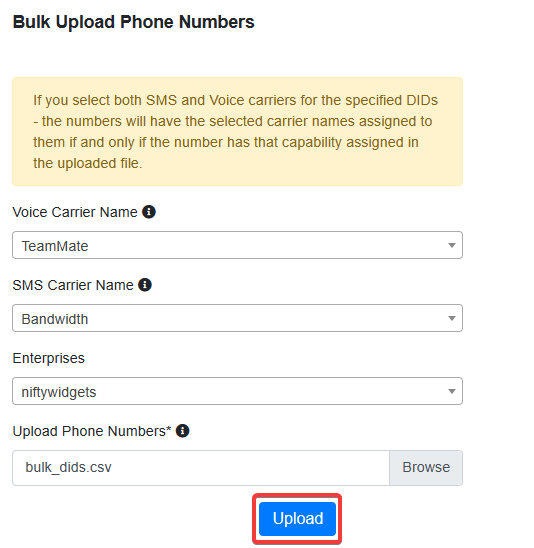
- Enter the following fields
- Voice Carrier Name: TeamMate
- SMS Carrier Name: Select the carrier being used for SMS
- Enterprises: Select the enterprise to assign the DID to
- Upload Phone Numbers: Upload the CSV file previously updated
- Click Upload
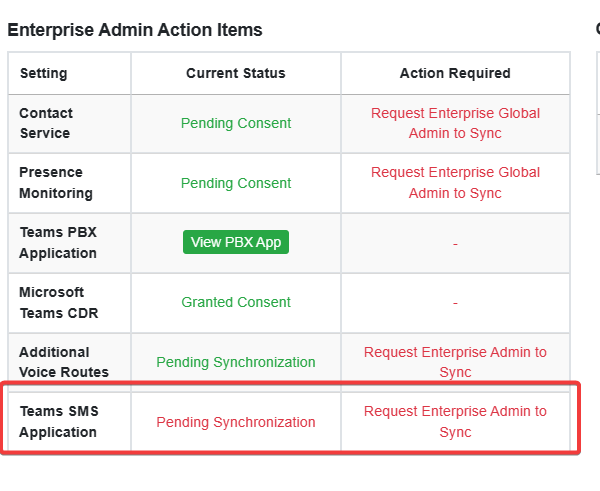
Enable SMS for Enterprise
- Log in to TeamMate Connector Reseller portal
- Navigate to Enterprises

- Search for the enterprise to modify and select Action > Edit Enterprise

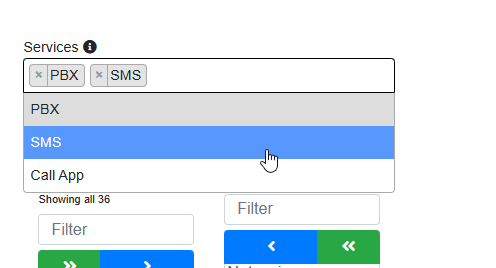
- Under Services, select SMS and click Save
Assign SMS DID to User
- Log in to TeamMate Connector Reseller portal and open the enterprise
- Navigate to Users

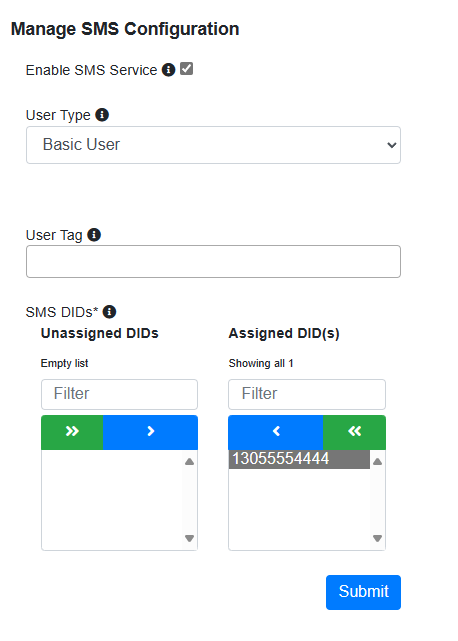
- Select the user being configured and click Actions > Manage SMS

- Move the desired DID from Unassigned DIDs to Assigned DID(s)
- Set Enable SMS Service to checked
- Click Submit
Deploy SMS Application
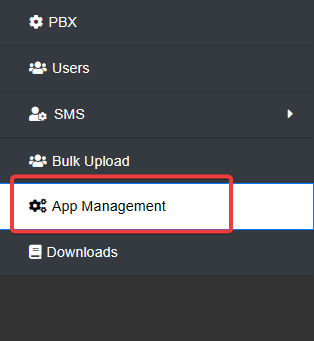
- Navigate to APP Management
- Open the SMS App tab
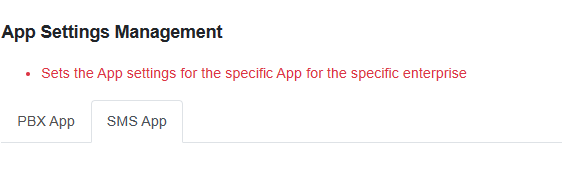
- Update the short name, app description, logos, etc as needed
- Click Save SMS Settings for Deployment
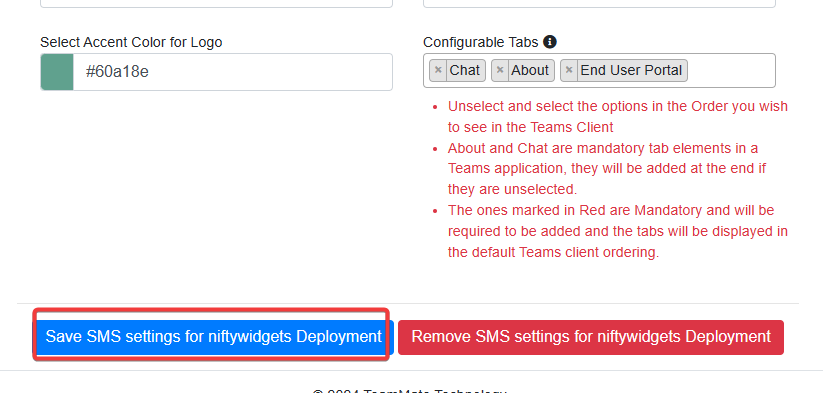
- Click Save again if prompted
- A Global Admin for the enterprise will need to log in to the teammate enterprise portal to sync the users