Allow and Block Calls

Written by Blaine Yeager
Updated at January 15th, 2025
Table of Contents
Scope
Intended Audience: All Users
This article outlines how to allow and block calls in the Manager Portal.
Requirements
Basic User Access to Manager Portal or higher
NOTE: Basic Users may only allow or block calls for themselves. Office Managers or higher may allow and block calls for the entire domain.
Considerations
Adding more than 500 blocked numbers will still be enforced in call processing; however, the Manager Portal will not properly populate the blocked number list. For full functionality, we suggest only blocking a maximum of 500 numbers.
Domain-wide blocking
Domain call blocking
Intended Audience: Office Manager and above
This section outlines how to allow and block calls for the entire domain in the Manager Portal.
- Log in to the Manager Portal
- Click Call History
- Click Blocked Numbers

- Enter blocked numbers manually:

-
Import a CSV:

- Block calls from call history
- Click the block calls button

- Calls can be unblocked by clicking again:

- Click the block calls button
Per user call blocking
Per user call blocking
Intended Audience: Basic users
This section outlines how to allow and block calls for individual users in the Manager Portal.
- Log in to the Manager Portal
- Click Call History
- Click Blocked Numbers

- Enter blocked numbers:
-
Import a CSV:
- Block from call history:
- Click the block calls button:

- Calls can be unblocked by clicking again:

- Click the block calls button:
Legacy call blocking
Legacy call blocking
As of 1-15-2025, this is no longer the preferred way to block calls for a user, call queue, or auto attendant.
- Log in to the Manager Portal
- Navigate to Users. Basic Users can navigate to Answering Rules and skip to step 5

- Select the user to update
- To allow or block calls to a TOD Routing, Auto Attendant, or a Call Queue
- Scroll to the bottom of the User's Tab and uncheck the Hide System Users

- Select the system user you wish to edit (TOD Routing, AA, CQ)
- This will block all calls to the DID, AA or CQ, respectively.
- Scroll to the bottom of the User's Tab and uncheck the Hide System Users
- To allow or block calls to a TOD Routing, Auto Attendant, or a Call Queue
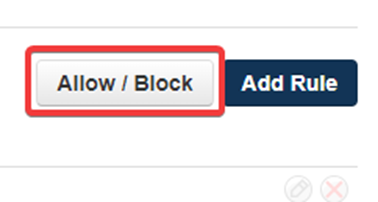
- Go to the Answering Rules tab

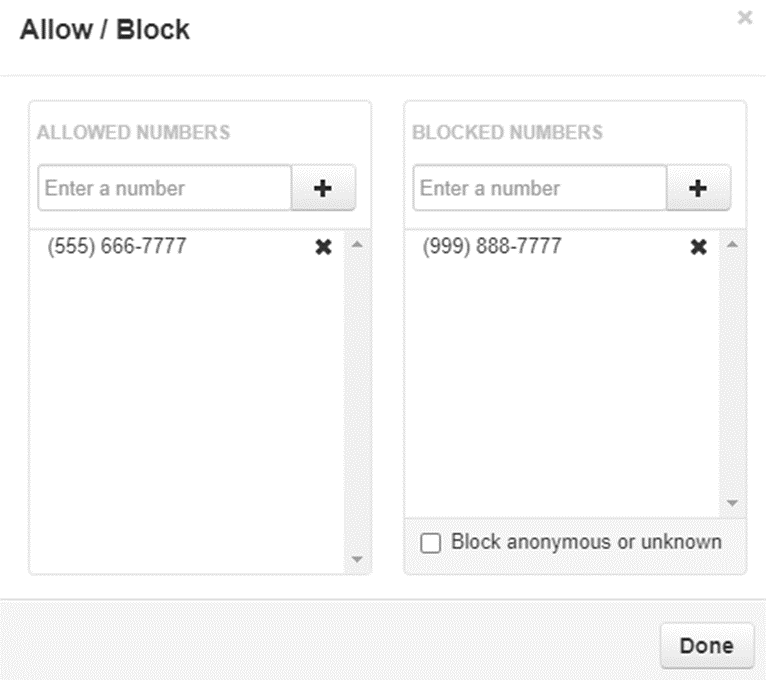
- Click Allow/Block

- On the left, enter allowed numbers and click the + icon to add it to the list
NOTE: This allows callers to bypass Do Not Disturb and Call Screning. It does not specify numbers allowed to dial an extension - On the right, enter any blocked numbers and click the + icon to add it to the list
NOTE: Calls from blocked numbers will be dropped immediately. - Once done adding numbers click Done

To block numbers from calling into a TOD-routed number:
You will use this if Time Of Day routing is enabled and the client does not wish to receive any calls from a specific number. This will stop the indicated number from being able to call in to the TOD-routed number.
- Log into the Manager Portal
- Navigate to the Users tab
- Uncheck HIDE SYSTEM USERS

- Navigate to the TOD number Answering Rules
- Click Allow/Block
- On the left, enter allowed numbers and click the + icon to add it to the list
NOTE: This allows callers to bypass Do Not Disturb and Call Screning. It does not specify numbers allowed to dial an extension - On the right, enter any blocked numbers and click the + icon to add it to the list
NOTE: Calls from blocked numbers will be dropped immediately. - Once done adding numbers click Done